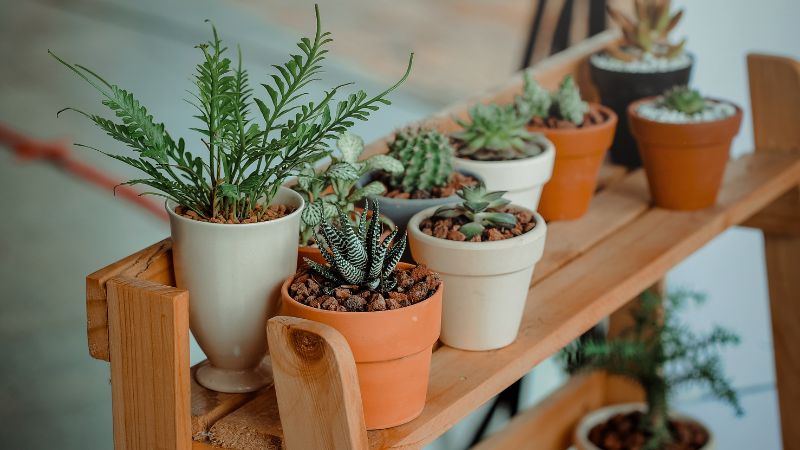
Creating your own mulch is an excellent way to enhance your garden while recycling yard waste and organic materials. Mulch helps retain soil moisture, suppress weeds, and improve soil health, making it a valuable addition to any garden. By making your own mulch, you can customize it to suit your specific needs and reduce the need for store-bought options. Here’s how you can create your own mulch with easy-to-follow steps.
1. Gather Your Materials
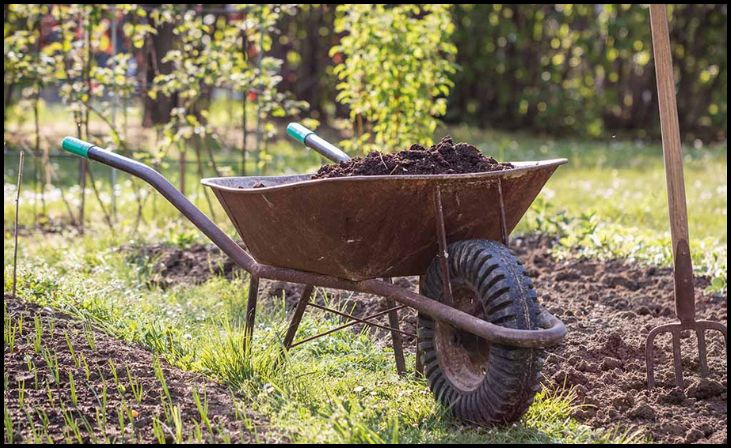
The first step in creating your own mulch is to gather materials that are readily available in your yard or kitchen. Common organic materials suitable for mulch include grass clippings, leaves, straw, wood chips, and bark. You can also use kitchen scraps like vegetable peelings, coffee grounds, and eggshells, but avoid meat, dairy, and oily foods as they can attract pests. For best results, aim for a mix of green (nitrogen-rich) and brown (carbon-rich) materials to create a balanced mulch that decomposes efficiently and enriches your soil.
2. Shred Your Materials
To create effective mulch, it’s essential to shred or chop your materials into smaller pieces. Smaller pieces decompose faster and create a more uniform mulch layer. Use a garden shredder, chipper, or even a lawn mower to break down larger items like branches, leaves, and straw. For kitchen scraps and smaller yard waste, a pair of garden shears or a compost grinder can do the trick. Shredding materials also helps prevent matting and allows water and air to penetrate the mulch, promoting healthier soil and plant growth.
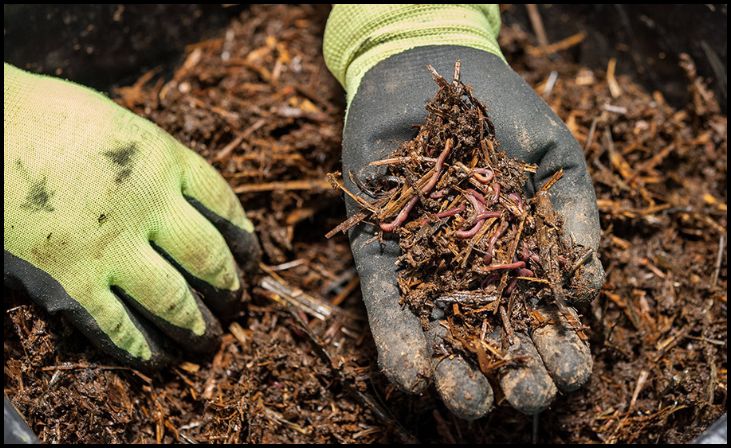
3. Compost Your Materials
While not strictly necessary, composting your materials before using them as mulch can enhance their nutrient content and improve soil health. Composting helps break down organic matter into a rich, crumbly substance that’s easier for plants to absorb. To compost your materials, create a compost pile or bin and layer green and brown materials. Keep the pile moist and turn it regularly to aerate it and speed up decomposition. Once the compost is dark and crumbly, it’s ready to be used as mulch or mixed with other materials for a nutrient-rich mulch layer.
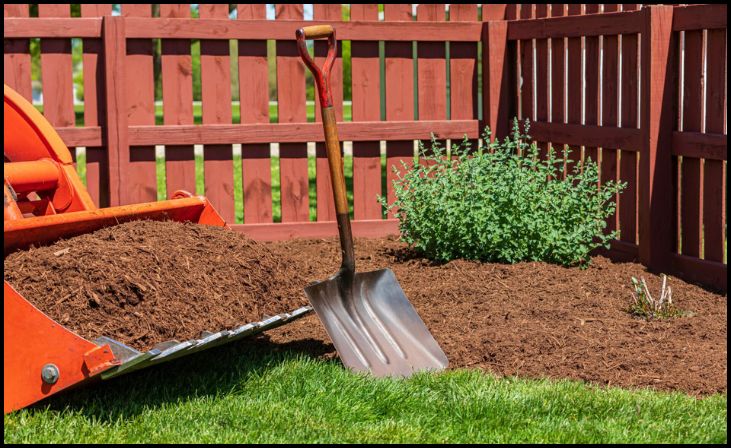
4. Apply Your Mulch
Once your materials are shredded and composted (if desired), it’s time to apply your mulch to your garden beds. Spread a 2-4 inch layer of mulch around your plants, making sure to keep it away from the stems and trunks to prevent rot and pests. Apply mulch evenly, covering the soil but leaving some space around the plants for air circulation. Mulching helps retain soil moisture, suppress weeds, and regulate soil temperature, creating an optimal environment for plant growth. Reapply mulch as needed, especially after heavy rains or as it decomposes.
Don't Settle for Ordinary.
SUBSCRIBE TO OUR UNIQUE WEB-STORIES NEWSLETTER AND ELEVATE YOUR READING GAME.
5. Maintain Your Mulch
Maintaining your mulch is crucial for ensuring its effectiveness and longevity. Periodically check your mulch layer for signs of compaction, matting, or pest infestation. Fluff the mulch with a garden fork to prevent compaction and allow air and water to penetrate. Add more mulch as needed to maintain the desired thickness, particularly in high-traffic areas or around plants that require extra moisture retention. Regularly check for and remove weeds that may sprout through the mulch, as they can compete with your plants for nutrients and water.
6. Use Mulch in Composting
In addition to using mulch in your garden beds, consider incorporating it into your composting process. Mulch can help balance the carbon-to-nitrogen ratio in your compost pile, especially if you have an abundance of green materials. Adding mulch to your compost helps absorb excess moisture, reduce odors, and improve aeration. When your compost is ready, you can use it as a nutrient-rich mulch or soil amendment, further enhancing your garden’s health and productivity.
7. Experiment with Different Materials
Creating your own mulch allows you to experiment with various materials to find what works best for your garden. Try different combinations of leaves, grass clippings, straw, wood chips, and kitchen scraps to see how they affect soil health and plant growth. You can also experiment with colored mulches by adding natural dyes to wood chips or using materials like cocoa bean hulls and pine needles for unique textures and aesthetics. By experimenting with different materials, you can customize your mulch to suit your garden’s specific needs and preferences.
8. Benefits of DIY Mulch
Creating your own mulch offers numerous benefits beyond cost savings. Homemade mulch is environmentally friendly, reducing the amount of yard waste sent to landfills and decreasing your reliance on commercial products. It also allows you to recycle organic materials and improve soil health naturally. DIY mulch can be tailored to your garden’s needs, providing optimal moisture retention, weed suppression, and soil enrichment. Additionally, using homemade mulch can foster a deeper connection to your garden, encouraging sustainable practices and a greater appreciation for natural processes.
Creating your own mulch is a rewarding and eco-friendly way to enhance your garden’s health and beauty. By following these steps and experimenting with different materials, you can create a customized mulch that meets your garden’s needs and supports sustainable gardening practices. Enjoy the benefits of homemade mulch and watch your garden thrive!